

Key Takeaways
- Repair size determines your method: nail pops, small holes, and larger gaps each need a different approach.
- Joint compound must dry fully between coats - rushing this step leads to cracking and shrinkage.
- Feathering your compound edges is the key to a seamless, paint-ready finish.
- Backing support is essential for holes larger than about six inches in diameter.
- Priming repaired areas before painting prevents uneven sheen in the final coat.
What you will need
Understanding the Damage Before You Repair It
Not all drywall damage is the same, and choosing the right repair method depends on what you're actually dealing with. A nail pop - where a fastener pushes through the paper face - is a surface-level fix. A doorknob-sized hole is a structural gap that needs backing. Sizing up the damage accurately saves time and prevents rework.
As a general rule, repairs fall into three categories:
- Nail pops and hairline cracks: Surface imperfections fixed with a screwdriver, a small amount of compound, and light sanding.
- Small holes (up to about 4 inches): Patched with a self-adhesive mesh patch or a pre-made patch kit - no cutting required.
- Larger holes (4-12 inches or more): Require a cut-and-back method, where a clean rectangular section is cut out and a new piece of drywall is secured to backing supports.
Before starting any repair, check whether the damage is isolated or symptomatic of something deeper - persistent moisture, for example, should be resolved before patching over it. If you're approaching a broader renovation, review what to consider before starting any home improvement project to avoid surprises.
What you will need
Tools and Materials You'll Need
Gathering the right materials before you begin makes the process faster and cleaner. The specific items depend on the repair size, but most drywall patches share a core set of supplies.
Putty knife or taping knife (4-6 inch)
Applies and smooths joint compound over small repairs and nail pops.
Wide taping knife (10-12 inch)
Feathers compound edges over larger patches for a seamless blend.
Self-adhesive mesh patch
Covers small holes (up to 4 inches) without requiring any cutting.
Drywall screws and furring strips or wood backing
Provides structural support for patches in larger holes.
Replacement drywall panel or off-cut
Cut-to-fit insert for repairing larger holes using the cut-and-back method.
Joint compound (all-purpose or lightweight)
The primary filler material applied in multiple coats over any patch.
Drywall primer
Seals the repaired area before painting to ensure an even final finish.
Sandpaper (120- and 220-grit)
Smooths compound between coats and prepares the final surface for priming.
For joint compound, all-purpose compound works for most repairs. Lightweight compound sands more easily and is preferred for finish coats. Avoid using setting-type compound (which hardens chemically) unless you have experience, as it leaves less working time.
Step-by-Step Repair Instructions
Follow the steps below in sequence. Drying time between coats is non-negotiable - plan for at least 24 hours per coat, or longer in humid conditions.
Fix Nail Pops First
Drive the popped nail slightly deeper with a hammer, or - better - drive a drywall screw about 2 inches above and below the pop to re-anchor the panel, then countersink the nail. Apply two thin coats of joint compound over the dimples, letting each coat dry fully. Sand smooth when dry.
Patch Small Holes with a Mesh Patch
Peel and stick a self-adhesive mesh patch centered over the hole. Apply a first coat of joint compound with a 6-inch knife, pressing it firmly into the mesh. Let it dry completely - the patch will appear slightly sunken. Apply a second coat, extending your strokes a few inches beyond the patch edges. Once dry, apply a third thin coat if needed, feathering the edges wide.
Cut and Back Large Holes
Mark a clean rectangle around the damaged area. Using a drywall saw, cut along your lines. Cut two horizontal furring strips (wood or metal) and insert them into the opening, securing each to the existing drywall on both sides of the hole with drywall screws. Cut a replacement piece of drywall to fit the opening, attach it to the furring strips with screws, and countersink all screw heads slightly.
Apply Joint Compound in Thin Coats
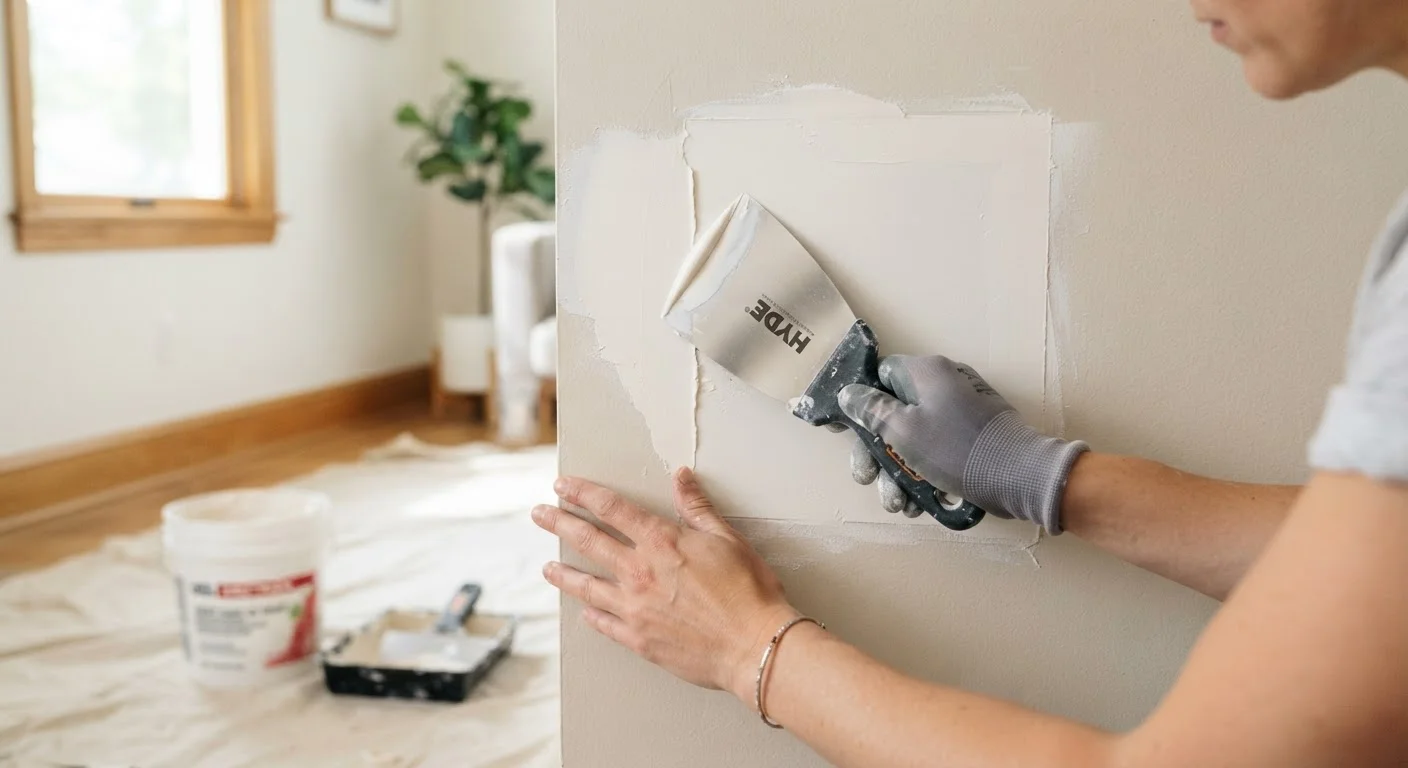
For patched areas, apply joint compound in three thin coats: a base coat (tape coat), a second coat to fill, and a finish coat to blend. For the cut-and-back patch, embed drywall tape along the seams of the new panel before your base coat. Allow each coat to dry fully before the next - the compound should be uniformly white with no dark or wet-looking spots.
Sand, Prime, and Prepare for Paint
Once the final coat is fully dry, sand with 120-grit sandpaper to knock down ridges, then finish with 220-grit for a smooth surface. Wipe away all dust with a damp cloth and let the surface dry. Apply a coat of drywall primer before painting. Match the existing wall texture if needed - a light orange-peel or skip-trowel texture can be recreated with a sponge or trowel technique before priming.
Once your final coat is fully dry and sanded smooth, wipe the area with a damp cloth to remove dust, then apply a drywall primer before painting. Skipping primer often results in a dull or flat patch visible through the topcoat - a common frustration that's entirely preventable. For similar lessons in diagnosing repair problems correctly, the approach described in identifying why grout keeps cracking applies equally here: find the root cause before applying the fix.