

Key Takeaways
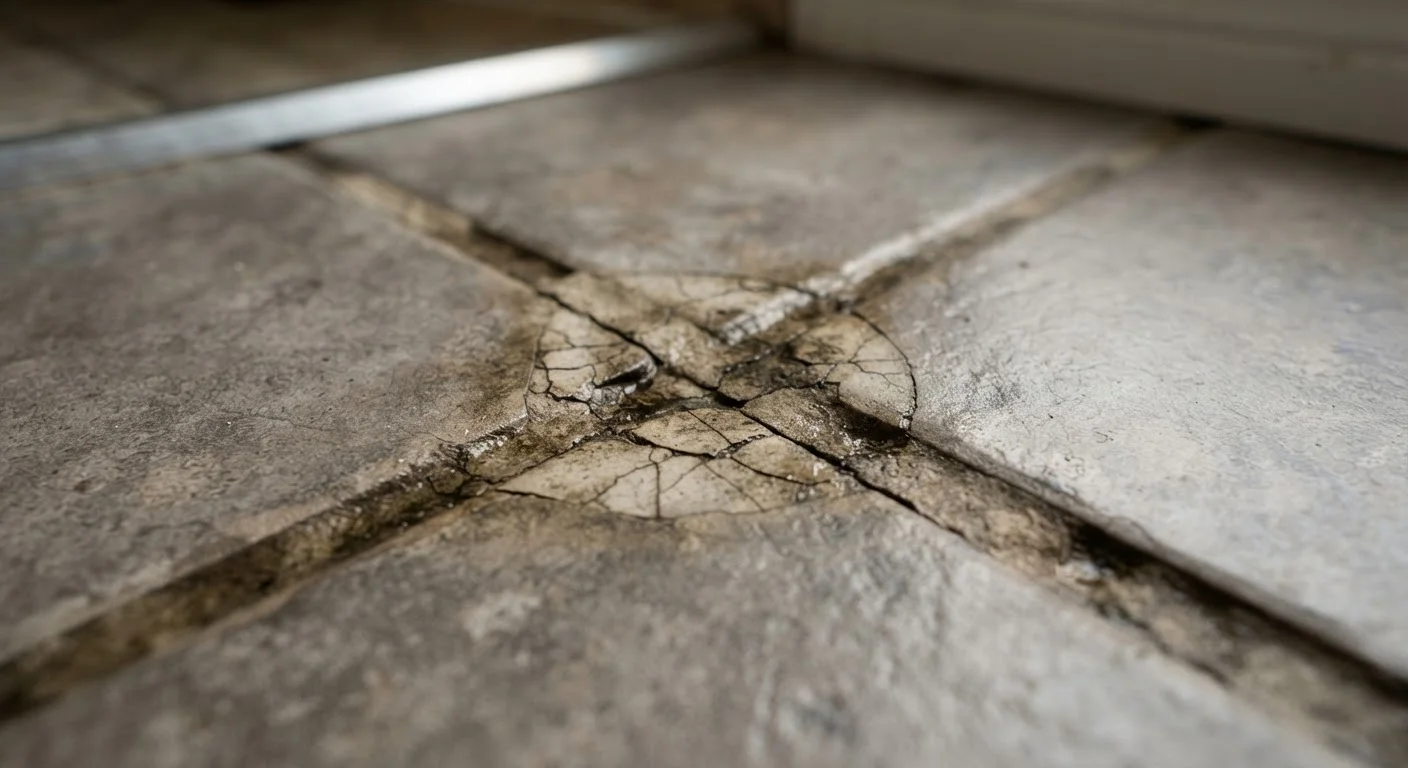
- Cracking grout is almost always a symptom of an underlying structural or installation problem, not just surface wear.
- Skipping subfloor inspection before regrouting is the single most common reason cracks keep coming back.
- Choosing the wrong grout type for the joint width or tile material leads to premature failure.
- Caulk - not grout - belongs in corners, changes of plane, and expansion joints.
Why Grout Cracks in the First Place
Grout is rigid by design, which makes it vulnerable to any movement in the surface beneath it. When a subfloor flexes, when a tile shifts, or when seasonal temperature swings cause materials to expand and contract at different rates, the grout joint is often the first place that stress shows up as a visible crack.
The frustrating part for most homeowners is that chipping out old grout and pressing in new material - without addressing what caused the crack - almost guarantees the same result within months. Understanding the root cause is the only way to break the cycle.
Regrouting without inspecting the subfloor for flex or damage.
Why it happens: The cracked grout is visible, so it feels like the obvious thing to fix. Homeowners naturally focus on the symptom rather than investigating what's underneath.
Using the wrong grout type - particularly applying unsanded grout in joints wider than 1/8 inch.
Why it happens: Many homeowners buy whichever grout color matches without checking the joint width specification on the bag.
Filling corner joints and plane transitions with grout instead of flexible caulk.
Why it happens: Grout is used everywhere else, so corners seem like a logical continuation. The difference in movement tolerance between grout and caulk isn't intuitive.
Mixing grout too wet to make it easier to spread.
Why it happens: A wetter mix is easier to push into joints, especially for first-time grout installers working quickly.
Skipping the curing period and exposing new grout to water too soon.
Why it happens: Once the grout looks dry on the surface, it's easy to assume the job is done and restore normal use.
Getting the Repair Right
Once you've identified the underlying issue, the repair process becomes much more straightforward. For minor cracks in otherwise sound grout, a thorough clean-out with a grout saw or oscillating tool, followed by proper product selection and careful application, can yield a lasting result.
Avoid Grouting Over Existing Cracked Grout
Applying fresh grout directly over cracked material is one of the most common DIY missteps. The new layer has nothing solid to bond to and will crack or peel away quickly. Always remove the damaged grout completely - down to the tile edges - using a grout saw or oscillating multi-tool before starting any repair.
In corner joints and anywhere two planes meet - a floor and a wall, for example - grout should never be your material of choice for the repair. These are movement zones, and flexible sanded caulk that matches your grout color is the correct solution. It accommodates the inevitable micro-movement that rigid grout simply cannot survive.
The same principle applies to large-format tiles (generally 15 inches or larger). These require a flexible, polymer-modified mortar as a setting bed and often benefit from epoxy or urethane grout, which handles movement far better than standard cement grout. Always check the tile manufacturer's recommendations before selecting a grout product.
For any project that involves removing and resetting tiles - especially if you discover a soft, bouncy, or delaminated subfloor - the repair moves beyond surface-level grouting. Structural fixes like sistering floor joists or replacing a damaged subfloor panel fall into territory where a licensed contractor's assessment is well worth the cost, particularly if permits or load-bearing considerations are involved. Just as surface-level patching isn't enough for deeper wall damage (see our guide to patching drywall from nail pops to larger gaps for a parallel example), durable tile repairs require addressing what's underneath first.
Finish any grout repair - new or repointed - with a penetrating grout sealer applied once the grout has fully cured (typically 48-72 hours, though product instructions vary). Sealer won't prevent structural cracking, but it does protect against moisture infiltration and staining, extending the life of a sound repair considerably.