

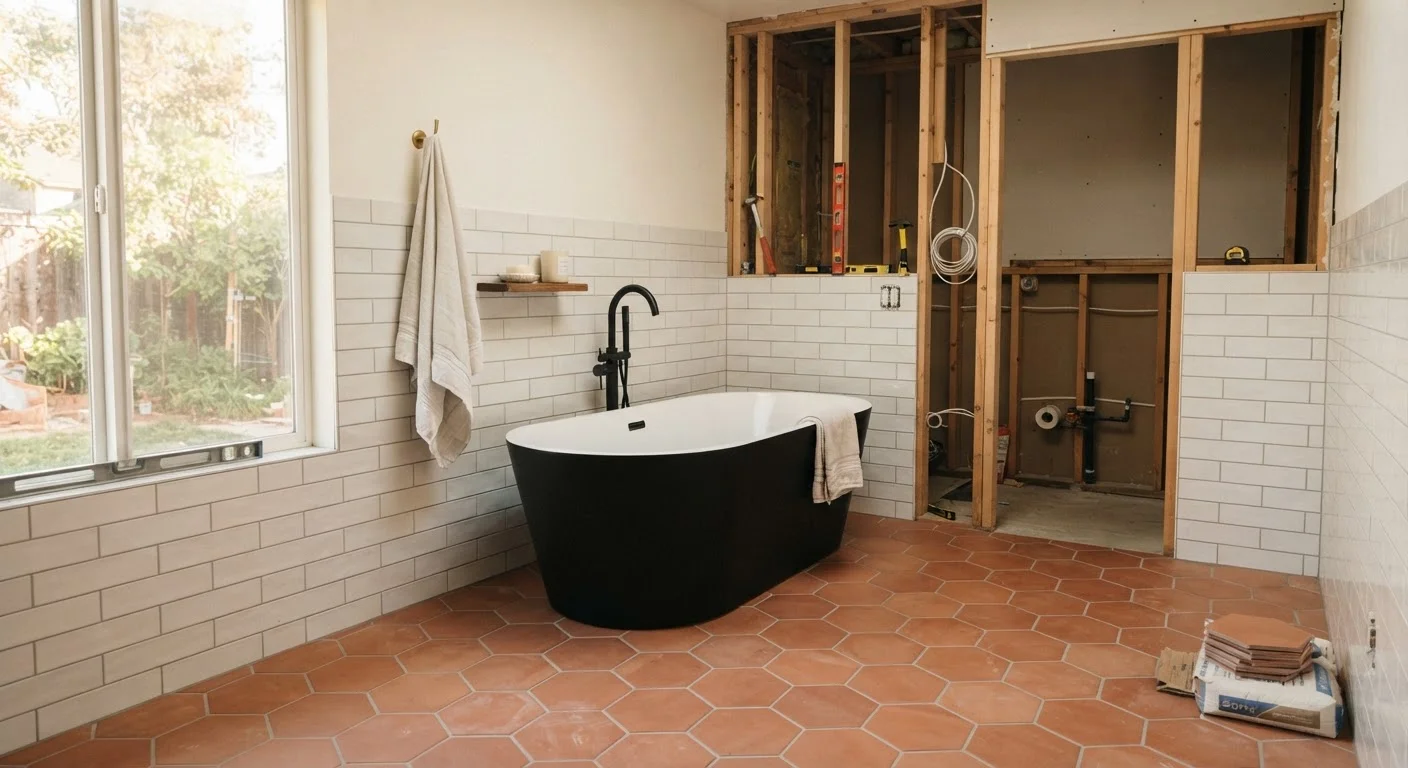
Key Takeaways
- Measure your bathroom accurately before selecting any fixtures or finishes.
- Plumbing, electrical, and structural changes require permits in most US jurisdictions.
- Trades must be scheduled in the correct sequence to avoid costly rework.
- Finish selections - tile, grout, hardware - should be locked in before demolition begins.
- A realistic contingency budget of 15-20% helps absorb hidden surprises.
- Moving drain or supply lines adds significant cost and complexity to any remodel.
Start With What You Have: Measuring and Auditing Your Space
Before you browse a single tile sample, spend an hour with a tape measure and graph paper. Sketch your bathroom to scale, recording the room's overall dimensions, the location of every door and window, and the current positions of the toilet, vanity, shower, and tub. Note ceiling height and the direction of floor joists if you can access them from below - this matters when routing new drain lines.
While you're at it, audit what exists behind the walls. Look for signs of water damage, mold at the base of the tub surround, or soft spots in the subfloor. These findings don't just affect your design - they define your scope. A surface-level cosmetic refresh is a very different project from one that involves replacing a damaged subfloor or remedying a slow leak.
This audit pairs well with a broader home organization review. Our room-by-room home organization checklist can help you assess storage needs across your whole home, including the bathroom, before you commit to a cabinet layout or vanity size.
Photograph Everything Before Walls Close
Once rough plumbing and electrical are inspected and walls are closed, you lose visibility into where every pipe and wire runs. Take dated photographs of every wall cavity before drywall or cement board goes up. These images are invaluable for future repairs or additions.
Layout Planning: Fixture Placement and Clearances
The National Kitchen and Bath Association (NKBA) publishes widely referenced clearance guidelines that many local building codes echo. Key minimums to understand: at least 15 inches of space from the centerline of the toilet to any side wall or obstruction, a minimum 21-inch clear floor space in front of the toilet, and at least 24 inches of clear space in front of a shower entry. These are floor minimums - more space is almost always better.
Think carefully before moving plumbing. Keeping the toilet, sink, and shower in their existing locations is the single most reliable way to control costs. Relocating a toilet drain, for example, can add thousands of dollars to a project because it typically means opening the subfloor, rerouting the drain stack, and potentially lowering a ceiling in the room below.
If you're considering reconfiguring walls or combining a bathroom with adjacent square footage, the trade-offs involved mirror those explored in our piece on open-plan living decisions. Gaining space often means gaining complexity.
~$12,000
Median US bathroom remodel cost
According to the U.S. Census Bureau's American Housing Survey, midrange bathroom renovations typically fall between $6,000 and $20,000 depending on scope and region.
60-67%
Average cost recouped at resale
Remodeling Magazine's Cost vs. Value reports have historically shown bathroom remodels recouping roughly 60-67% of project cost at resale, though this varies by market.
3-8 weeks
Typical full remodel timeline
A full gut-and-replace bathroom remodel commonly takes three to eight weeks when permits, inspections, and material lead times are factored in.
Permits, Codes, and When to Call a Professional
Most bathroom remodels that go beyond cosmetic updates - replacing tile, swapping a vanity light, or installing a new faucet - require permits. Any work that involves moving or adding plumbing supply or drain lines, relocating electrical outlets or adding circuits, altering ventilation, or touching load-bearing walls falls under permitted work in virtually every US jurisdiction.
Working without required permits creates real problems: failed inspections when you sell, insurance complications if something goes wrong, and potential liability if a future owner is harmed by unpermitted electrical or plumbing work. The process of pulling permits also brings licensed inspectors into the project - which, despite adding a step, gives you a professional check on the quality of the work.
Our broader guide on what homeowners should know before starting any renovation covers contractor vetting, permit timelines, and how to set realistic expectations before a single wall comes down. Read it before you hire anyone.
Do Not Skip the Waterproofing Step
In wet areas - shower walls, shower floors, and tub surrounds - tile alone does not waterproof a surface. A dedicated waterproofing membrane or system must be applied to the substrate before tile is set. Skipping this step is the leading cause of hidden water damage and mold behind bathroom tile. This work should be done by or verified by an experienced tile contractor.
Sequencing the Trades: The Right Order of Work
Getting the order of work right prevents expensive rework. A standard bathroom remodel follows this sequence:
- Demolition - Remove existing tile, fixtures, and any damaged subfloor or drywall.
- Rough plumbing - Relocate or rough in drain lines, supply lines, and shower valves before walls close.
- Rough electrical - Install new circuits, GFCI outlet rough-ins, and exhaust fan wiring.
- Inspections - Schedule rough-in inspections for plumbing and electrical before any walls close.
- Insulation and cement board - Install moisture-resistant backer in wet areas; insulate exterior walls.
- Tile work - Set floor tile and wall tile in wet areas.
- Paint - Prime and paint walls and ceiling after tile is done but before trim is installed.
- Finish plumbing and electrical - Install fixtures, faucets, outlets, switches, and light fixtures.
- Trim and accessories - Set vanity, mirror, towel bars, and toilet.
- Final inspection - Pass final inspection before closing up the project.
Skipping or reordering these steps - for example, painting before tile is set, or installing a vanity before the floor tile is laid - is a common and costly mistake.
Choosing Finishes Without Overcomplicating It
Lock in every finish selection before demolition starts - not after. Tile lead times can run four to eight weeks for special orders. If your shower tile arrives late, the whole project stalls with an unusable bathroom in your home.
Build your selections around a simple hierarchy: floor tile first (it sets the tone), wall tile or paint second, then grout color, then fixtures and hardware. Keep grout color neutral if you want the design to age well - highly contrasting grout shows grime more readily and dates quickly.
For vanity decisions, the same cost-versus-scope thinking that applies to kitchen cabinet decisions applies here. Refacing or repainting an existing vanity costs significantly less than full replacement, provided the cabinet box is structurally sound and the layout works for your needs.
Order a full extra box of every tile you install and store it. Discontinued tiles are impossible to match years later when one cracks or chips.
Tile dye lots shift between production runs, making an exact replacement from a new batch visually obvious even in the same SKU.
Specify the exact grout joint width in your tile contract - even a 1/16-inch difference changes the entire visual rhythm of a tiled wall.
Contractors default to their own preferences unless instructed otherwise, and grout joint width is one of the most visible determinants of a tile installation's final look.
Budgeting Realistically for a Bathroom Remodel
Bathroom remodel costs vary widely by region, scope, and finish level, but the consistent advice from contractors and cost-estimation resources is to build a contingency of 15-20% on top of your quoted scope. Hidden water damage, outdated wiring, and out-of-square walls are common discoveries that add cost once demolition begins.
Allocate your budget in rough proportion to where value is concentrated: plumbing and tile work typically account for the largest share of labor, while fixtures and vanities drive material cost. Splurging on a high-end shower valve while cutting corners on waterproofing is a common and regrettable reversal of priorities.
For homeowners exploring larger projects - adding a bathroom or expanding the footprint - the financial and zoning realities are substantially different. Our guide on planning a home addition covers what that scope actually involves.
This article provides general home improvement guidance for educational purposes only. Costs, code requirements, and permitting rules vary by location. Always verify local building codes and consult licensed professionals for electrical, plumbing, and structural work in your home.