

Home & Garden

Your Pre-Season Garden Readiness Checklist

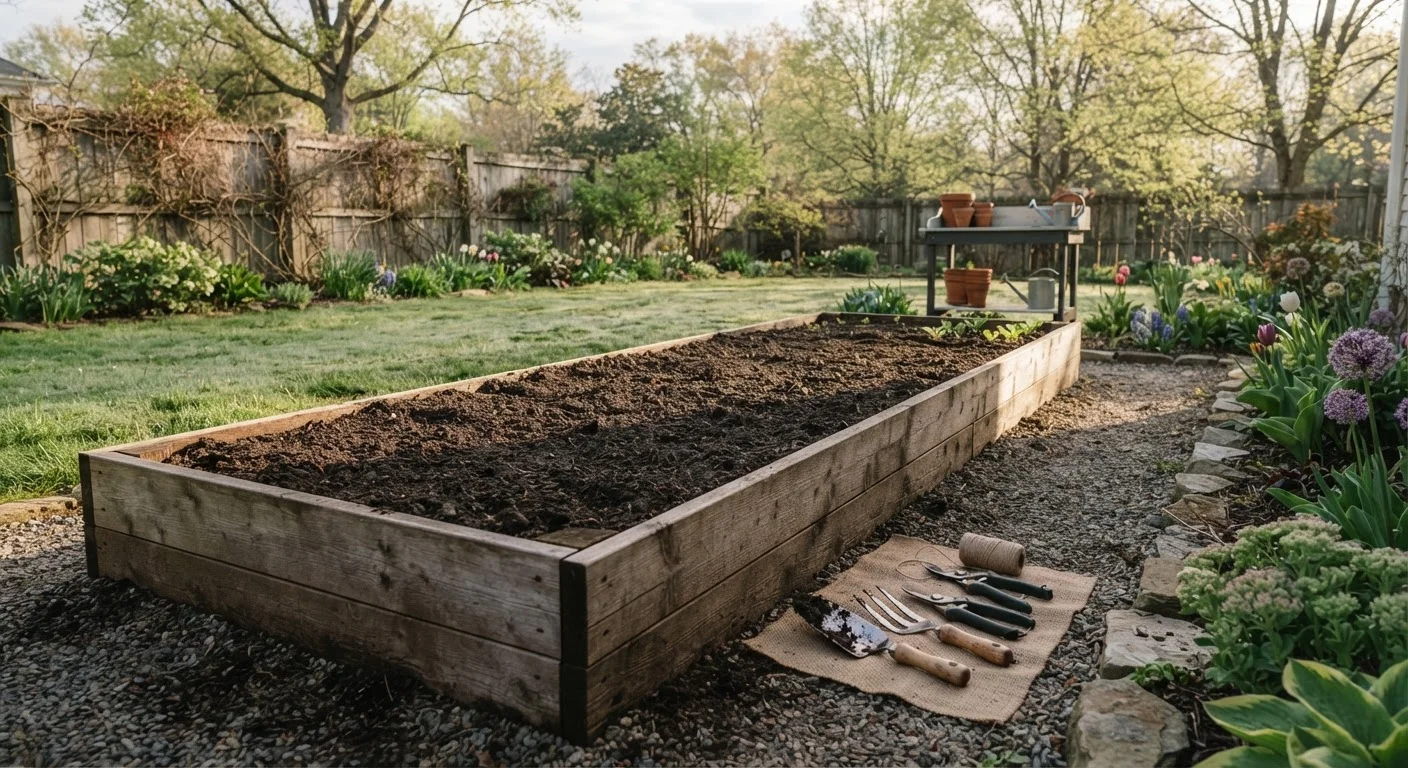
Freshly prepared garden beds with hand tools laid out on soil in early spring morning light.

Key Takeaways

  • Inspecting and sharpening tools before the season prevents mid-project frustration and damage to plants.
  • Testing soil and amending it early gives nutrients time to integrate before seeds or transplants go in.
  • Clearing winter debris from beds reduces pest and disease pressure throughout the growing season.
  • Verifying your seed and supply inventory ahead of time avoids last-minute gaps when planting windows open.
  • Knowing your local frost dates shapes every decision on this checklist.
45–90 min

Summary

22 items · 45–90 minutes

Why a Pre-Season Checklist Makes Every Gardening Month Easier

The difference between a stressful, reactive growing season and a productive, enjoyable one usually comes down to what you do before the first seed goes in the ground. A methodical pre-season walkthrough catches problems — dull tools, depleted soil, last year's disease residue — while there's still time to fix them without disrupting a planting schedule.

This checklist covers four core areas: tools and equipment, soil and bed preparation, seeds and supplies, and your seasonal plan. Work through it in sequence over one or two sessions, and you'll start the season with real momentum rather than scrambling to catch up.

If you're gardening for the first time, pair this checklist with our beginner's garden guide for foundational context on layout, plant selection, and watering. For timing guidance specific to your region, the seasonal gardening calendar is a useful companion resource.

Tools & Equipment

Inspect all hand tools — trowels, cultivators, pruners, and hoes — for rust, cracked handles, or bent tines, and set aside anything that needs repair or replacement. Must
Sharpen bladed tools including pruners, loppers, hoes, and spades using a whetstone or file to ensure clean cuts that reduce plant stress. Must
Oil all metal tool heads and moving joints with a light penetrating oil to prevent rust through the season. Should
Check hoses, watering wands, and drip irrigation lines for cracks, clogs, or broken connectors, and run water through each to confirm flow. Must
Test any powered equipment — tillers, string trimmers, or electric cultivators — and address fuel, battery, or blade issues before you need them urgently. Should

Soil & Bed Preparation

Remove all dead plant material, fallen leaves, and spent mulch from beds, bagging anything that showed signs of disease rather than composting it. Must
Conduct a simple soil test using a home test kit or by sending a sample to your local cooperative extension office to determine pH and major nutrient levels. Should
Amend soil based on test results — working in compost, balanced organic fertilizer, lime, or sulfur as needed — at least two to three weeks before planting. Must
Loosen compacted soil in established beds by gently turning the top few inches with a fork, taking care not to disturb overwintering beneficial insects near the surface. Should
Add a fresh layer of compost (roughly two to three inches) across all planting beds to replenish organic matter lost over winter. Must
Check raised bed frames or edging for rot, shifting, or damage and make repairs before the soil is fully loaded for the season. Should

Seeds, Starts & Supplies

Take a full inventory of stored seeds, checking packet dates and running a quick germination test on any seeds more than two years old before committing to them. Must
Confirm you have adequate seed-starting mix, trays, and grow lights or a suitable sunny window location before starting any seeds indoors. Must
Stock up on organic mulch material — straw, wood chips, or shredded leaves — so it's ready to apply immediately after planting. Should
Verify that you have pest-management supplies in place — row covers, copper tape, insecticidal soap, or other non-chemical deterrents — before pests become active. Should
Check that plant labels, markers, and any support structures (stakes, cages, trellises) are on hand before they're urgently needed mid-season. Nice to have

Seasonal Planning

Look up your USDA Hardiness Zone and average last frost date for your specific location to anchor your planting schedule accurately. Must
Map out your planting beds on paper or a simple sketch, rotating crop families from last year's positions to reduce disease and pest buildup in the soil. Should
Build a simple planting calendar noting seed-starting dates, transplant dates, and succession planting intervals for each crop you plan to grow. Should
Identify two or three new plants or techniques you want to try this season, and source seeds or starts in advance so you're not limited to whatever is still available later. Nice to have
Set a recurring reminder — weekly or biweekly — to walk through the garden so problems are caught early rather than discovered after they've spread. Should

Tools, Supplies, and What to Have on Hand

Before you can execute any checklist item, you need the right equipment in working order. Use the tool list below as a starting inventory — cross-reference it against what you already own, what needs repair, and what you may need to source.

Required

Hand trowel and cultivator

Essential for planting, transplanting, and working amendments into the top layer of soil.

Required

Garden fork or spade

Used to loosen compacted soil and turn in compost or other amendments across beds.

Required

Bypass pruners

Clean cuts on spent perennials, shrub stems, and dead growth at the start of the season.

Required

Soil test kit

Measures pH and key nutrient levels so amendments can be targeted rather than guessed.

Required

Hose with adjustable nozzle or drip irrigation

Consistent watering is critical from the moment seeds germinate or transplants go in.

Optional

Seed-starting trays and grow mix

Required for starting warm-season crops indoors ahead of safe outdoor planting dates.

Optional

Row cover fabric

Extends the usable growing window and provides a physical barrier against early-season pests.

Required

Whetstone or hand file

Keeps bladed tools sharp so cuts are clean and plant tissue heals more efficiently.

One area gardeners often overlook pre-season is pest preparation. Reviewing natural pest control methods before the season lets you set up physical barriers, plan companion plantings, and source beneficial insects before pests appear — rather than scrambling to respond once damage is visible.

Don't Compost Diseased Plant Material

If last season's beds showed signs of fungal disease — powdery mildew, blight, or black spot — bag and discard that plant debris rather than adding it to your compost pile. Most home compost piles do not reach temperatures high enough to destroy fungal spores or some bacterial pathogens. Introducing infected material to finished compost and then spreading it across your beds can reintroduce problems before the season even begins.

Pre-season garden prep also dovetails naturally with broader home readiness. Our seasonal home maintenance guide covers exterior and structural tasks worth stacking into the same spring weekend.

Home & Garden Editorial Team is the collective byline for our editorial team and contributor network. Articles published under this byline or an editorial pen name are researched, written, and reviewed according to our editorial standards for clarity, consistency, and independence before publication.

View all articles by Home & Garden Editorial Team →
Disclaimer: The content provided on our blog site traverses numerous categories, offering readers valuable and practical information. Readers can use the editorial team’s research and data to gain more insights into their topics of interest. However, they are requested not to treat the articles as conclusive. The website team cannot be held responsible for differences in data or inaccuracies found across other platforms. Please also note that the site might also miss out on various schemes and offers available that the readers may find more beneficial than the ones we cover.