

Key Takeaways
- Most pre-trip checks take under 15 minutes and require no special tools.
- Tires, lights, fluids, and mirrors are the four areas that catch the majority of road issues.
- Dashboard warning lights should never be ignored before a trip - even short ones.
- Carrying a basic emergency kit adds minimal cost but significant protection.
- Consistent pre-trip habits reduce mechanical surprises and support safer driving.
Summary
22 items · 5-15 minutes
Why a Pre-Trip Check Is Worth Five Minutes of Your Time
Breakdowns rarely happen without warning. A tire that's been slowly losing pressure, a wiper blade that's been streaking for weeks, or a brake fluid level that's been creeping downward - these are problems that a quick walkaround catches before they become emergencies on the highway.
This checklist applies to any trip: a daily commute, a weekend drive, or a multi-day road journey. The steps are identical; only the stakes change with distance. If you're newer to car ownership, pairing this habit with a broader maintenance routine - like the one outlined in our guide for new drivers - makes it even more effective.
Below, you'll find every check organized by category, with notes on what to look for and when to escalate to a mechanic.
Tires
Lights and Visibility
Fluids
Dashboard and Controls
Documents and Emergency Preparedness
Tools and Items to Have On Hand
Most pre-trip checks require nothing more than your eyes and a few minutes. However, a small set of basic tools makes the process faster and more accurate.
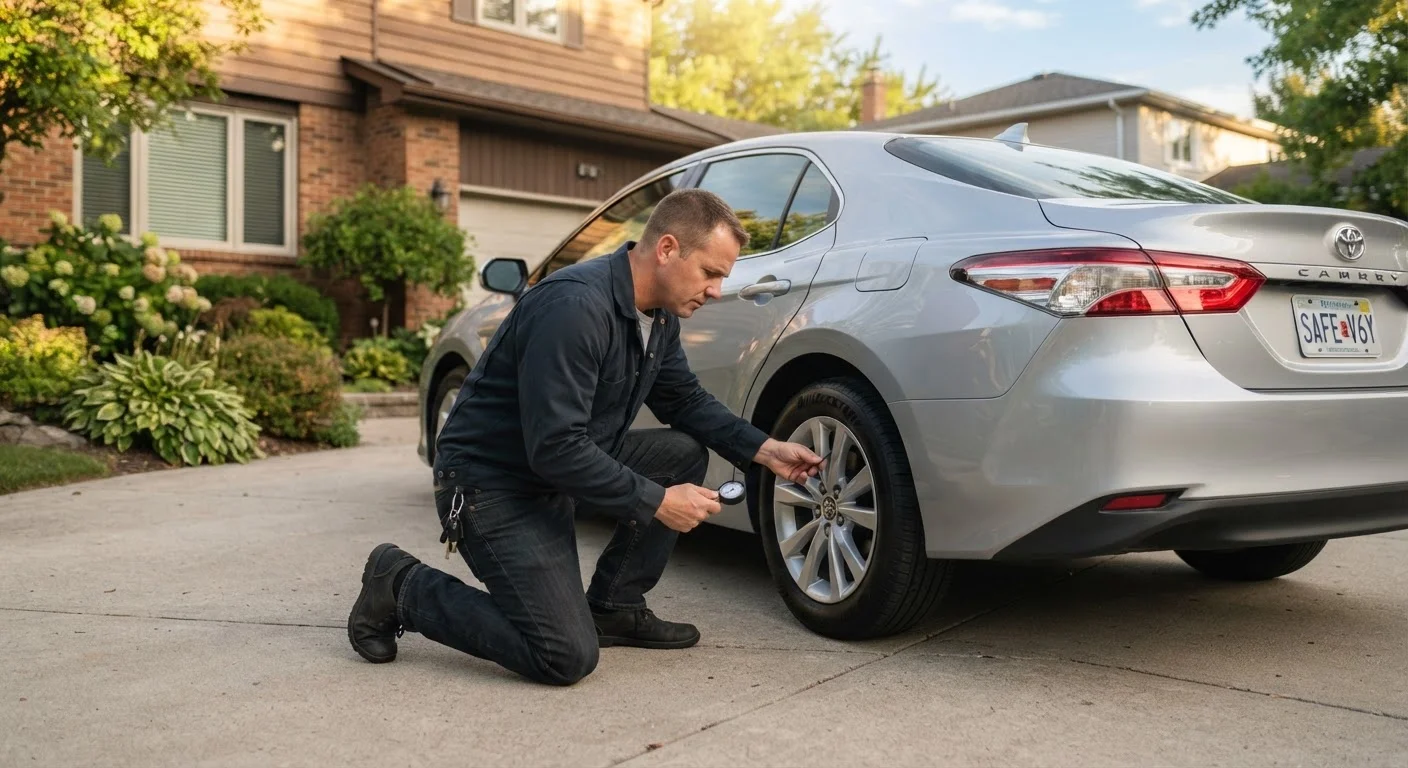
Tire pressure gauge
Accurately measures PSI in each tire so you can inflate or deflate to the manufacturer's recommended level.
Portable air compressor or pump
Allows you to inflate an underinflated tire without locating a gas station.
Flashlight or work light
Essential for checking under the vehicle, inspecting tires in low light, or reading dipstick levels in a dim garage.
Clean rag or paper towels
Used to wipe dipsticks for a clean oil-level reading and to clean mirrors or lights before inspection.
For longer trips, consider also verifying your roadside emergency kit is stocked - jumper cables, a reflective triangle or flares, a basic first-aid kit, and a phone charger or power bank.
What to Do If You Find a Problem
Finding an issue before you leave is always better than discovering it mid-trip. The right response depends on the severity:
- Tires: Low pressure is often drivable to the nearest air station, but a visible puncture or severely low reading means don't drive until it's addressed.
- Lights: A burned-out brake or headlight is a safety and legal issue in most US states. Many auto-parts stores will replace bulbs on the spot.
- Fluids: Topping off coolant or windshield washer fluid is a simple fix. Oil that's significantly low, or brake fluid that keeps dropping, warrants a mechanic visit before the trip.
- Warning lights: Some lights - like a low fuel warning - are minor. Others indicate you should not drive the vehicle. Our dashboard warning light guide explains what each symbol means and when to stop immediately.
- Brakes: Squealing, grinding, or a soft pedal are signs that need professional attention. Our article on brake warning signs covers what different symptoms indicate.
Don't Drive on a Severe Warning Light
A check engine light that comes on suddenly, a red oil pressure or temperature warning, or a brake system alert are not lights to monitor and drive through. Continuing to drive under these conditions can cause significant engine or brake damage - and in some cases, a safety failure while moving. Pull over safely, shut off the engine, and arrange a tow or mechanic inspection before continuing.
Once you're on the road, your pre-trip preparation extends to how you drive. If your route includes highways shared with large commercial trucks, understanding their blind spots and braking distances - covered in our piece on sharing the road with trucks - can meaningfully reduce your risk.
This article provides general vehicle safety information for educational purposes only. Always consult a qualified mechanic for diagnosis and repair of any vehicle issue.