

Key Takeaways
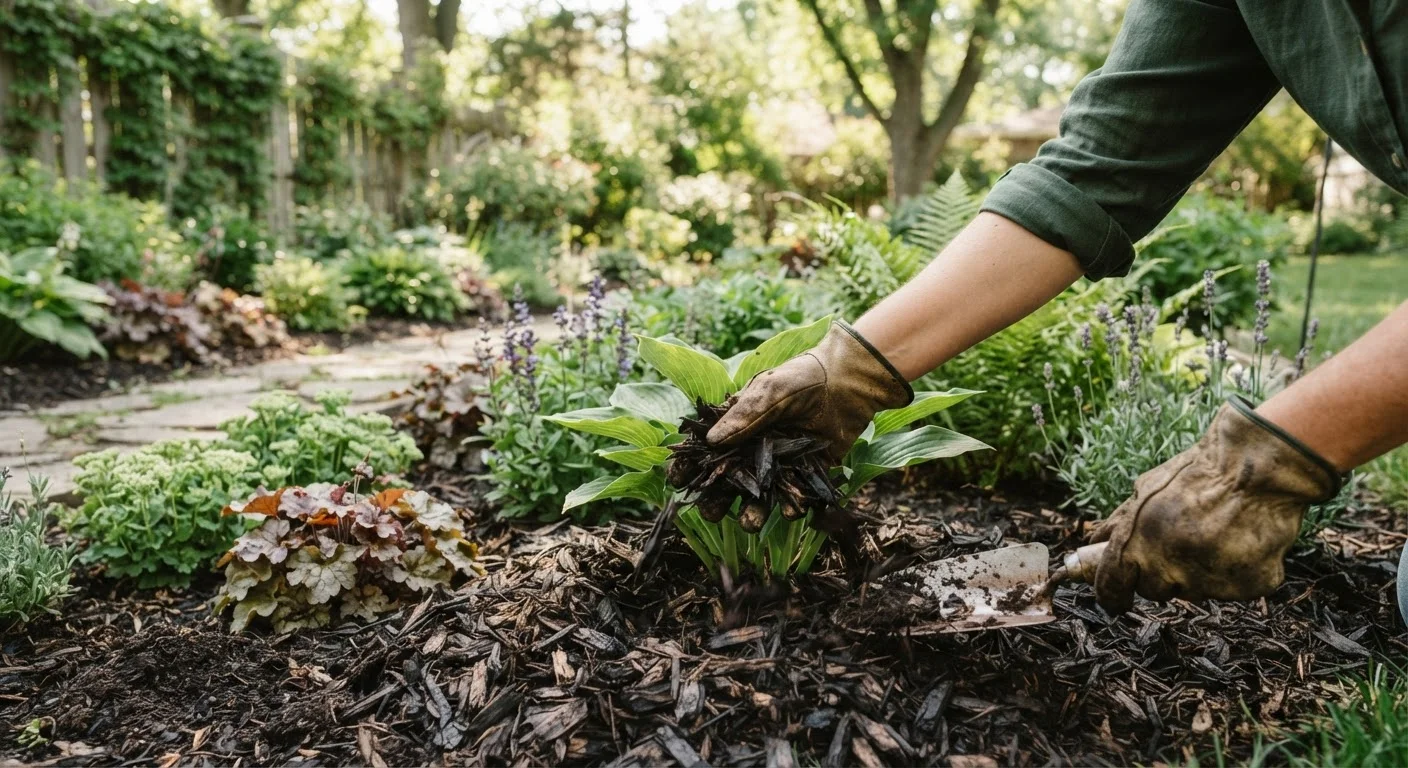
- Apply mulch in spring after soil warms and again in fall to protect roots from temperature swings.
- A 2-4 inch layer is the effective sweet spot - too thin fails; too thick can suffocate roots.
- Keep mulch a few inches away from plant stems and tree trunks to prevent rot and pest problems.
- Organic mulches like wood chips and shredded leaves improve soil structure as they decompose.
- Material choice should match your garden type - vegetable beds, perennial borders, and trees each have different needs.
Why Mulching Is One of the Highest-Value Garden Habits
Few garden tasks deliver as many benefits for as little ongoing effort as mulching. A properly mulched bed retains soil moisture, moderates temperature extremes, suppresses weed germination, and - when you choose organic materials - gradually enriches the soil beneath it. It's one of the core reasons some gardens look effortlessly healthy while others seem to struggle despite constant attention.
Understanding what your soil is made of is a helpful first step, because mulch interacts directly with that foundation. Sandy soils lose moisture fast and benefit from mulch's water-retention properties; clay soils can stay too wet if mulch traps excess moisture. Knowing your soil type shapes which mulch works best and how thickly to apply it.
The mistakes gardeners most often make aren't about what they mulch - they're about when, how deep, and where to stop.
When to Mulch: Timing Matters More Than Most Gardeners Realize
The two most productive mulching windows in most US regions are mid-spring and early fall.
In spring, wait until the soil has warmed after the last frost before spreading mulch. Mulching too early traps cold in the ground and delays the soil temperature rise that seeds and roots need. Once perennials are pushing through and daytime temperatures are consistently above 50°F, it's time to mulch.
In fall, apply a fresh layer after the first hard frost but before the ground freezes. This isn't to keep soil warm - it's to keep it uniformly cold, preventing the freeze-thaw cycles that can heave shallow-rooted plants out of the ground.
Spring Mulching: Wait for Soil to Warm First
Resist the urge to mulch as soon as winter ends. Spreading mulch over cold soil insulates it and delays the warming your plants are waiting for. Give the ground two to three weeks of exposure to spring sun before you apply a fresh layer. A simple soil thermometer - pushed 2 inches into the ground - takes the guesswork out of timing.
If you're gardening in containers, the timing principle still applies - but the scale shifts. Our guide to container gardening limitations and techniques covers how mulching small pots differs from in-ground beds.
The Right Depth: Not Too Shallow, Not Too Deep
The standard guidance from cooperative extension services across the US is 2 to 4 inches of mulch for most planting beds. That range exists for a reason:
- Under 2 inches: Weed seeds get enough light to germinate; moisture evaporates too quickly.
- 2-4 inches: The effective zone for most organic mulches - weed suppression, moisture retention, and insulation all work as intended.
- Over 4 inches: Oxygen exchange to roots is restricted; water may shed off the surface rather than penetrate; fungal problems increase.
One critical rule with no exceptions: never pile mulch against plant stems or tree trunks. This "volcano mulching" - the cone shape often seen around street trees - traps moisture against bark, encourages rot, and creates shelter for insects and rodents. Keep mulch at least 2-3 inches away from any woody stem, and 6 inches from tree trunks.
25-50%
Soil moisture retained with proper mulching
University cooperative extension programs commonly cite that a 2-4 inch organic mulch layer can reduce soil water loss by 25 to 50 percent compared to bare soil.
90%
Weed suppression in well-mulched beds
Horticultural research consistently shows that an adequate mulch layer blocks the light most annual weed seeds need to germinate, dramatically reducing weed pressure.
Choosing the Right Material for Your Garden Type
Mulch falls into two broad categories: organic (materials that break down) and inorganic (gravel, landscape fabric, rubber). For most home gardeners growing plants, vegetables, or mixed borders, organic mulches are the practical choice because they improve soil over time.
Use wood chips or bark mulch for established trees, shrubs, and perennial borders.
Coarse wood-based mulches decompose slowly, making them low-maintenance and long-lasting for permanent plantings. They regulate soil temperature effectively and allow rainfall to pass through without compacting.
Apply shredded leaves or straw in vegetable and annual beds.
These lighter materials break down within one growing season, adding organic matter directly into the root zone without creating build-up that needs removal. They're also widely available at low or no cost.
Reserve inorganic mulches for paths, slopes, or low-maintenance landscape areas.
Gravel and stone don't contribute organic matter, can raise soil temperatures in hot climates, and are difficult to remove once installed. They're best suited to areas where you're not actively growing plants.
Avoid dyed or treated wood mulch near edible plants.
Some commercially dyed mulches use colorants or are produced from recycled lumber that may contain chemical preservatives. While research on risk levels varies, the precautionary approach is to keep potentially treated materials away from food-producing beds.
Refresh, don't replace - add to existing mulch layers rather than removing and starting over.
The bottom layer of decomposing organic mulch is actively feeding soil organisms and improving soil structure. Removing it disrupts that process and sends useful organic matter to the landfill.
For vegetable gardens and annual beds, organic mulches that decompose within a season - like straw or shredded leaves - are ideal. They add organic matter without requiring removal at season's end. Finished compost makes an excellent top dressing that doubles as both mulch and soil amendment in kitchen gardens.
If a plant placement question is driving your mulching plan - such as deciding what goes under a tree canopy - it helps to review how light conditions affect what thrives in each spot. Some shade-loving ground covers work alongside mulch; others compete with it.
Practical Steps to Get Started and Maintain It
Getting mulching right doesn't require special equipment or expertise - just attention to a few fundamentals each season.
Once mulch is down, it needs only occasional attention. Check depth in spring and fall - organic mulches compact and decompose over time, so you may need to top up to maintain the 2-4 inch target. Rake the surface lightly if it becomes matted (this is common with fine materials like shredded leaves), which restores air flow and prevents water from beading off.
Watch for signs of over-mulching: yellowing leaves, root rot at the crown of perennials, or mushrooms growing in the mulch layer. These indicate either excessive depth or mulch that's staying too wet. Adjusting depth and improving drainage around the bed usually resolves it. For related common pitfalls, understanding why plants fail can help connect mulching missteps to broader garden health.